Painting the Home, Exterior Spaces: The Front Porch Part 2

How do I paint Beadboard Ceiling with deteriorated polyurethane and mildew?

Beadboard ceilings on a porch are a classic look.  I love the look.  I love the natural or stained woods with a polyurethane finish coat and I love them painted.  In Part 1 of this article, I discussed color.  Now, time to talk about the How To.


We just completed a very large porch project.  Upon inspection, we found a 14 year old house with the original polyurethane on the Beadboard ceiling.  The home owners wanted to restore the original natural wood look, but mildew developed between the poly and the wood.  What do we do?
 
After talking with the homeowners a bit more, we understood that they tried to power wash it the previous summer and they sanded a few patches, but since this was labor intensive, they did not get too far.  Yes, you can clean up the mildew, but you have to get to it first and that means sanding of the polyurethane.  The homeowners took all the right steps to evaluate.  Our recommendations were sanding or replacing the wood, but both were more than the homeowners wanted to spend.  The solution was to paint.
 
Why did mildew develop between the poly and the wood?  We have seen this before in polyurethane coated ceilings, picnic tables and in other areas.  Wood has moisture when installed.  I suspect the hidden or underside of this wood was not primed.  Since the wood can not breath as effectively under a polyurethane coating, its moisture is a perfect environment for mildew.  To avoid this, the best you can do is install kiln-dried wood and prime the hidden or underside before installing.  In the long run, mildew may still develop, but these 2 steps should keep the desired look for a longer period.

Regal® Select Exterior Paint — MoorGlo® Soft Gloss Finish 096

Painting is a great solution.  It is the most cost-effective and you can pick any color desired.  Like all jobs, it is the preparation that matters the most.  With the mildew and polyurethane, there are several steps to achieve a great end product:

1.  Priming 
Prime the surface with a mold-killing primer that will adhere to polyurethane or oil paints.  Very important first step. We applied 2 coats with a 3/8” nap roller and then brushed the bead grooves.
 
2.  Finish Paint
I only use Benjamin Moore paints.  They handle well and cover nicely.  For exteriors, we use the Benjamin Moore MoorGlo Soft Gloss for a nice finish again, with a roller and brushed the bead grooves.  
 
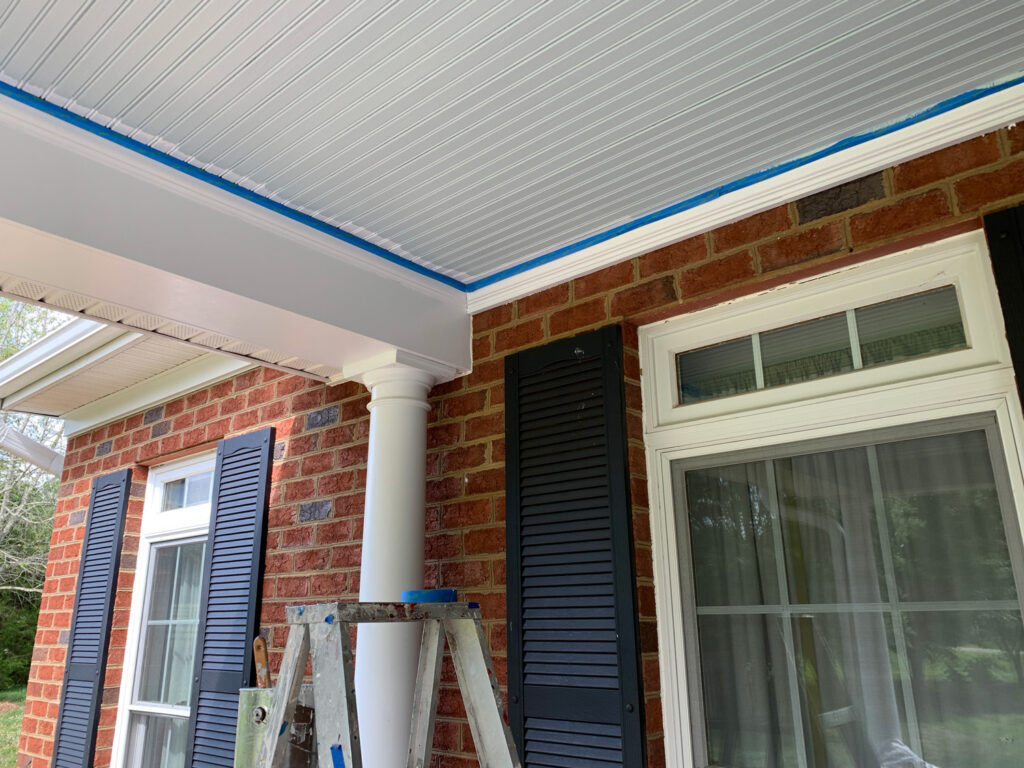
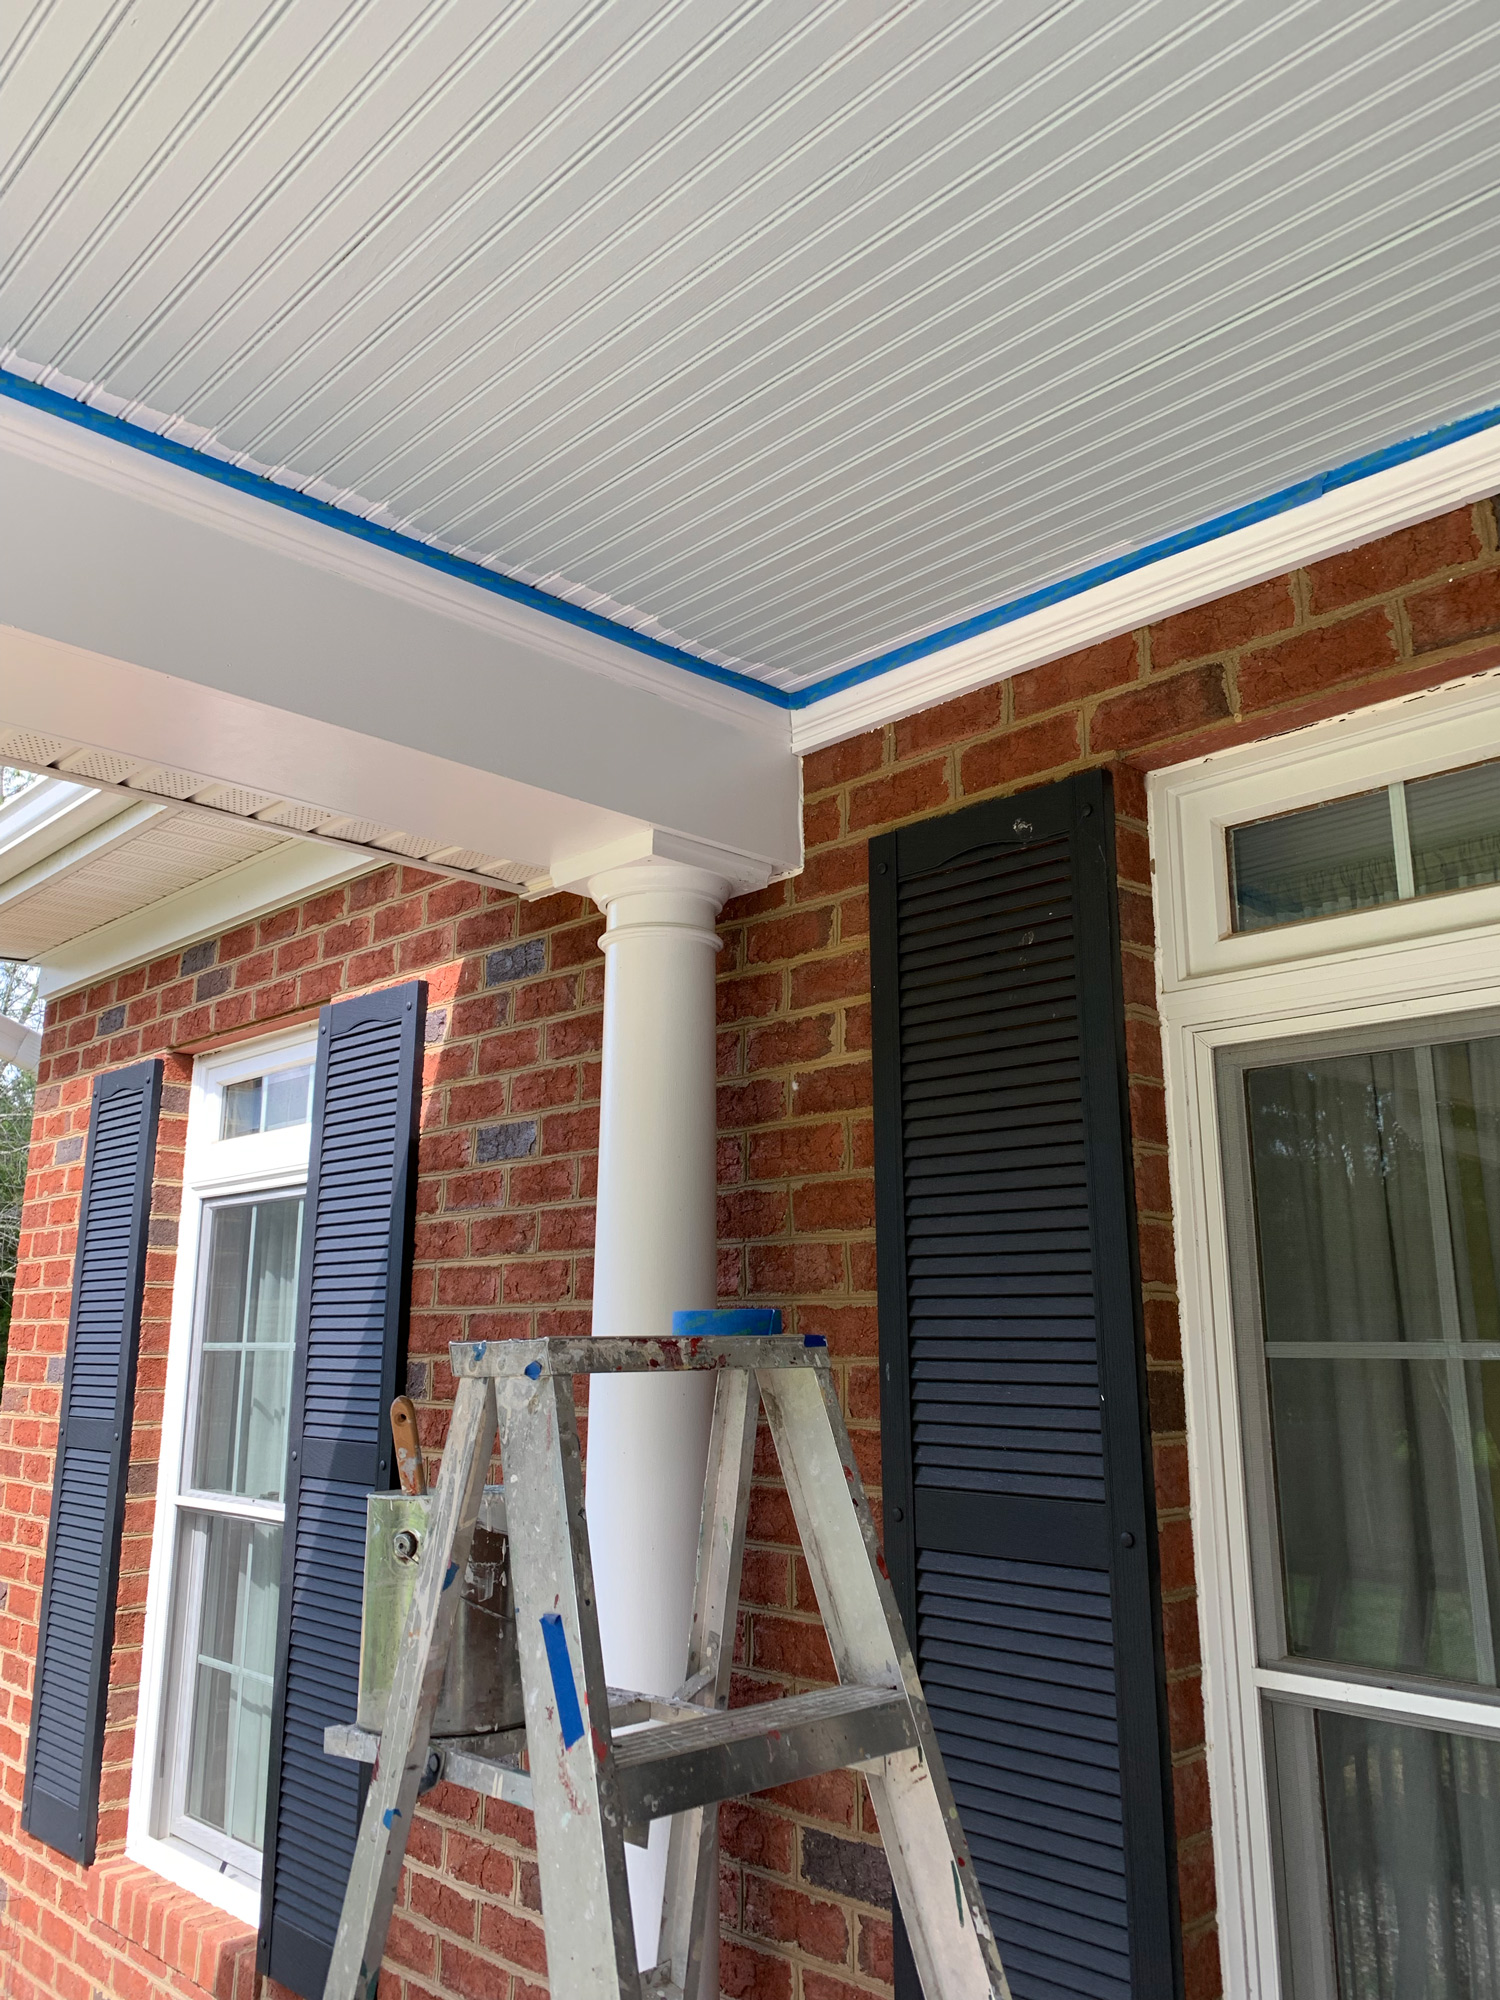
3.  Perimeter Details
To protect the crown molding, we tape it off after giving it a fresh coat of white MoorGlo.
Yes, this can be a DIY project, but as our homeowners found out, painting all those grooves and dealing with the mildew was more time than they wanted to spend on the project vs spending quality time with the family.
 
Ampa Creative Home is happy to stop by and discuss your next project.

Ampa Creative Home offers finish carpentry, interior design, and handyman services in the Richmond, Virginia Metro area. We started our business as stage set and prop designers and fabricators for the event industry.  With our fine carpentry and artistic skills, we are very good with wainscoting wall panels, finish carpentry, painting, and artistic projects. In general, we are problem solvers and get the job done.

Share This artical!

Share on facebook
Facebook
Share on twitter
Twitter
Share on linkedin
LinkedIn
Share on pinterest
Pinterest
Share on email
Email

Leave a Comment